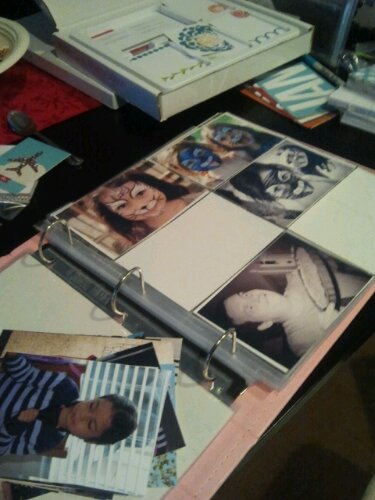
Welcome to another Project Life Monday. This will, I wanted to focus on sharing what I use to create my album, with a little explanation.
(I am linking to the Amazon page of Becky Higgins, to make it easier for you to learn more about the product if you want.)
My album
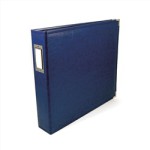 For Project Life, you do need a 12×12″ 3-ring binder because of the photo pages we use. Now, plenty of manufacturers do have some in their lines so it is not that hard to find. AND 12×12″ (30x30cm) is the more common size but of course, you can also choose to a 8.5×11″ album or even 6×8″. It is really up to you !
I went for one made by We R Memory Keepers, and for 2013, I chose the Navy binder (not girly as it is our family album and I want my husband to like it as well. And Blue is kinda our colour). It is very sturdy and I love the finish.
Becky Higgins offers binders that do coordinate her core kits, and they are pretty neat as well !
The Photo Pocket Pages
The most common sizes of pockets are 6×4″ and 3×4″, and the pages play around what is possible to play with these two sizes on the same page. There are also the big 12×12″, some smaller ones as the 5×7″, 8×10″, 8.5×11″.
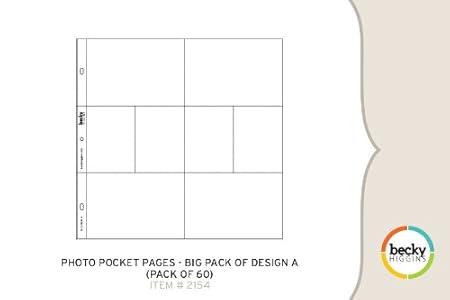 People usually prefer working the Design A when they work on a weekly base for their year album. I noticed by looking through my photo folders on my computer that most of the photos I take are in Landscape mode. And I guess I am not the only one, and this is why this design is oh so popular. And why I like the Photo Pocket C so much: it is 6 spots for 4×6 Landscape photos.
If you tend to do the contrary (take more Portrait oriented photos), then you have the same concept inverted: Design D is for you.
However… you know me. I am pretty easily bored to death and having an album filled with the same Photo Protector over and over is not my thing.
I like using Design E or I that both have squares, because I can slip my Instagram photos easily in them (I do a montage in Photoshop and got 12×12″ photo printed at Costco, then I just need to trim and I’m good).
I bought a Big Pack so I have a little bit of each of the designs to play with, and with time I’ll see which ones I go to more often and will get these.
The Core Kit
Using a core kit will save you tons of time. Each of them is composed of:
- Scrapbooking components to create a full album
- 4 x 6 Title Cards so every layout has a title
- 3 x 4 Journaling Cards so that every picture has a caption
- First Page + Last Page Cards so that your album has a beautifully designed beginning and end
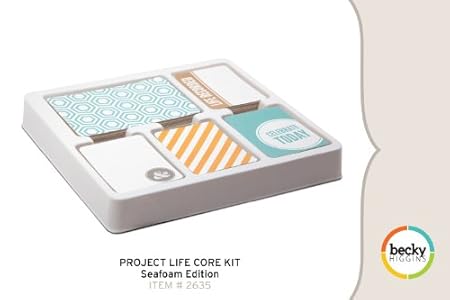 Last year when I began for 2012, I bought the Cherry Core Kit. BUT I find it quite girly (which is fine for my daughters’ album but not so much for our family one). I was very excited of the two new core kits that were released earlier this year: the Seafoam edition (designed by Elise Cripe) and the Olive edition (designed by Heather Bailey) and so I purchased the Seafoam core kit to go with it.
I really like that there are journaling cards as well as filler cards (you know, when you don’t have a photo, don’t have much to say but need to fill one of the pocket anyway).
This Spring (around May), LOTS of new products will be released. Both core kits, and mini kits (for example there will be a seasonal one, and a holidays focused kit too).
The extra: Mini Kit
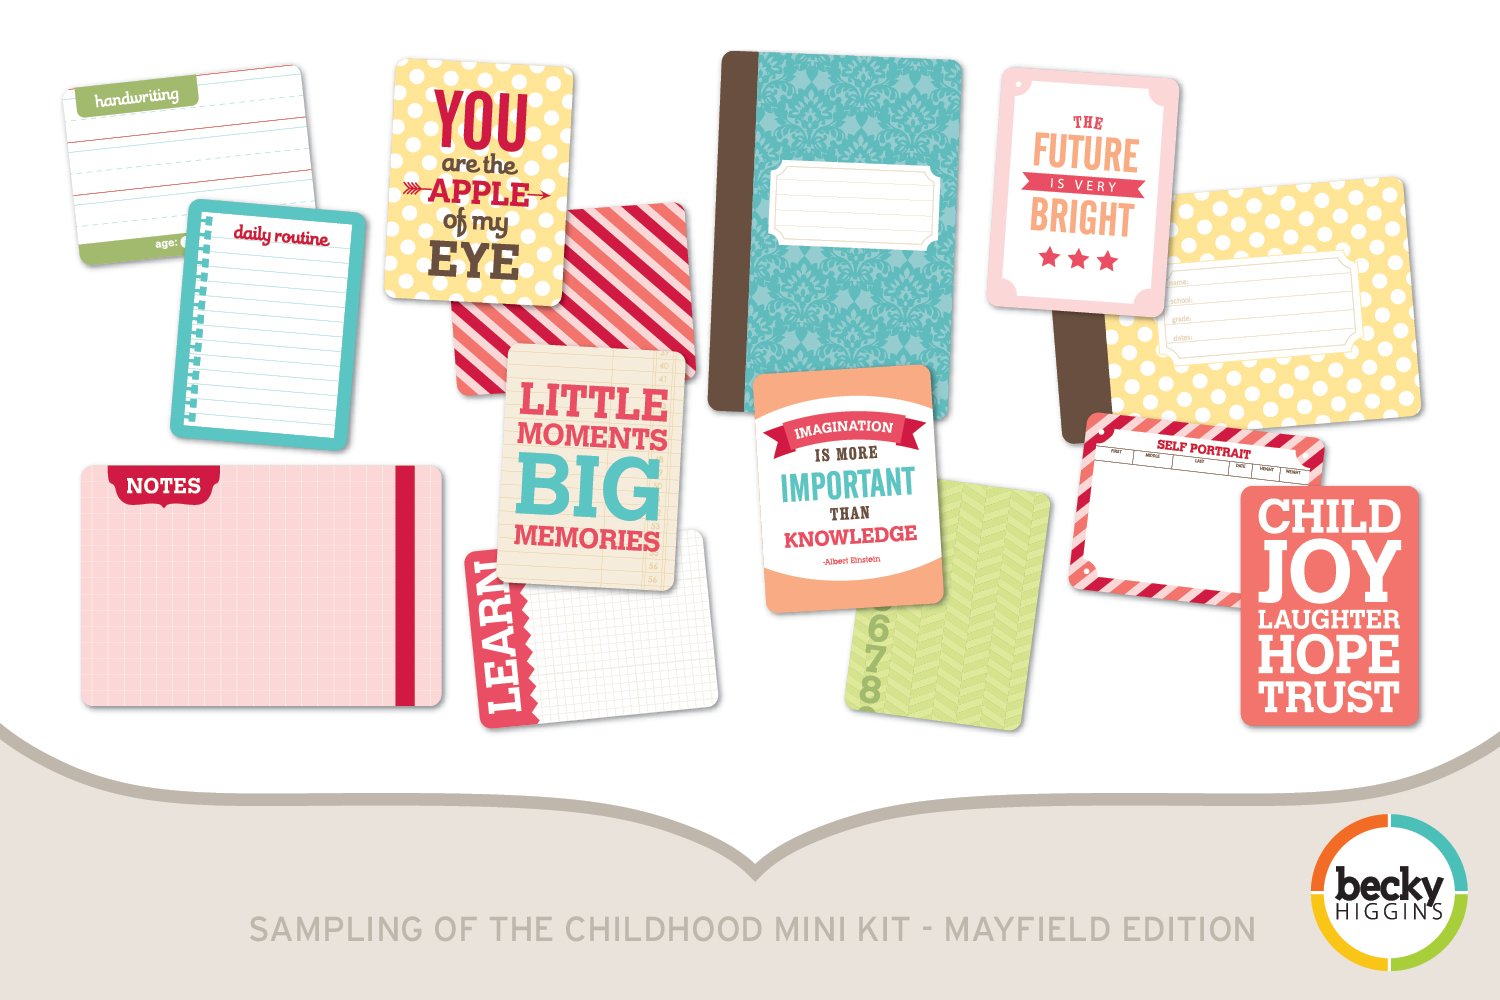 I also use the Mayfield mini kit.
I chose a girly one on purpose, this time.
You can totally go without a mini kit, as the Core Kit is made to cover a whole year of Project Life 🙂
To date, you can choose between three different mini kits.
The extra: Project Life monthly kit by Studio Calico
Since January this year, Studio Calico added a new monthly kit to their list. One that is dedicated to Project Life albums.
In it, you receive both 3×4 and 4×6 cards (around 30 in total I think), plus an exclusive stamps set, and some embellishments (washi tape and more).
Each month, it coordinates with the Main kit, and the Card kit.
I think Studio Calico is one of my favorite brands, and this kit is a monthly treat that I really appreciate (and if you already are a subscriber to any of the other kits, it will ship together at no additional fee).
I also like to use their Cut Files (with my Silhouette machine… that I should definately use more !) and their Digital stamps.
Making my own cards
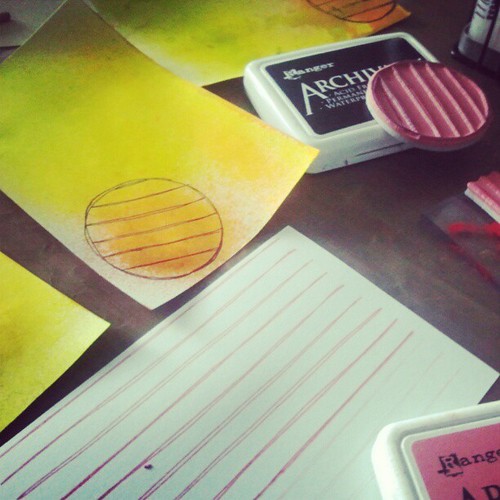
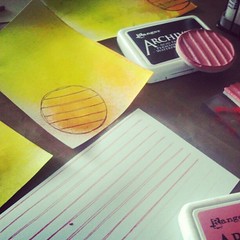 I purchased some blank 4×6 cards at Staples, and use them to create my own journaling and filler cards. You know I like getting my hands dirty, and it is a nice fun way to warm up before painting.
I also use the blank 3×4 cards from Becky Higgins (I often find it hard to fill the 3×4 spots in my pages) to create something.
Spray inks, stamps and here you have it ! I also like to add a stitched border around my card when I want it a little be fancier.
Now that Project Life is oh so popular, you can find paper you just need to cut and then use (for example Simple Stories, or Echo Parks have some really good ones).
The same applies for stamps. I bought an inkpad of Stazon ink though, because my usual Archival one was smudging when used directly on my photos. And that sucks !
For the papers, I use some of my scrapbook paper that I cut to size. Now that I have the blank 3×4 and 4×6 dies from The Crafter’s Workshop, it is way easier to cut it thanks to my Big Shot machine. I also use the 3×4 die to reframe and downsize a photo.
Selphy home printer
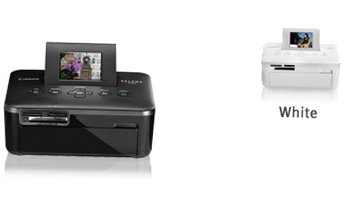 I discovered this printer via Liz Lamoreux who uses one. It is good when I don’t have a lot of photos to print, because I can do that at home thanks to it. However, when I have too much photos, I noticed I run out of ink pretty fast… so this is when I go to Costco and get them printed in 1 hour.
I know that Epson also has a portable home printer, but I’ve never used it so I can’t compare the two and tell you which is best.
I like thinking outside the box for my albums. And I am so inspired by all those who share their pages and process ! Thankful they take some time to share.
I would really love to know how you organize yourself for your Project Life album. What are your favorite products to use ? Please please please: tell me 😀
Project Life is a memory keeping system initiated by Becky Higgins. This is how I decided to keep track of our family life.
If you live outside the US, you can order Project Life items on Scrapbooker’s Inner Circle.
You can find all my Project Life oriented blogposts right here.
